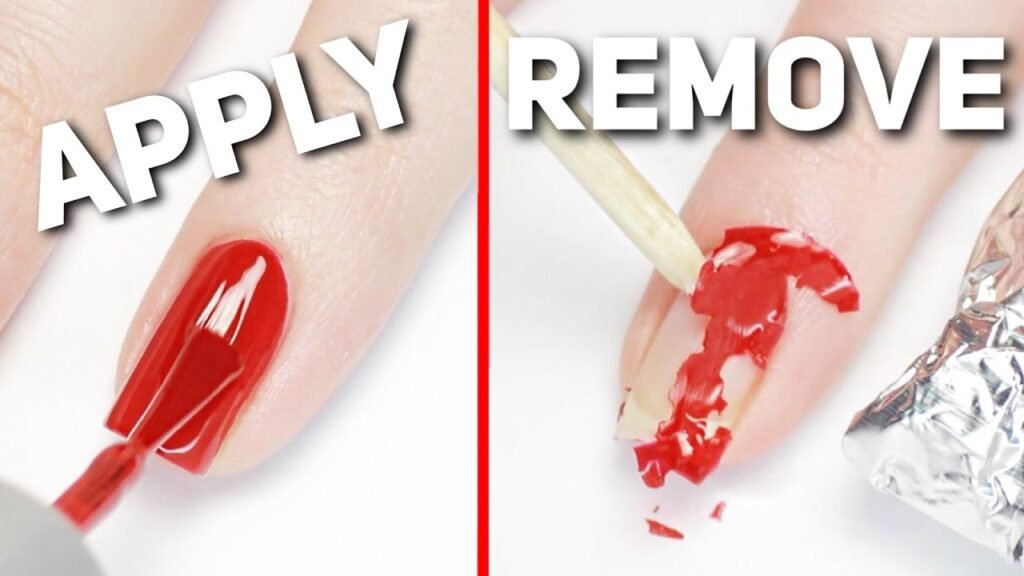
Gel nail polish has revolutionized the beauty industry, offering a durable and long-lasting alternative to traditional nail lacquers. However, its removal process can be challenging and, if done incorrectly, damaging to the nails. This comprehensive guide aims to demystify the process, providing you with step-by-step instructions, expert tips, and additional insights to ensure that you can remove gel nail polish safely and effectively at home.
Understanding Gel Nail Polish
Before diving into the removal process, it’s essential to understand what sets gel nail polish apart from its traditional counterparts. Gel nail polishes are formulated to be more resilient, requiring curing under UV or LED light to set. This curing process creates a bond stronger than that of regular nail polish, contributing to the gel’s longevity and resistance to chipping. While these features are advantageous for maintaining beautiful nails over weeks, they also necessitate a more involved removal process to prevent nail damage.
Preparing for Removal
Proper preparation can significantly streamline the gel polish removal process, making it more efficient and less harmful to your nails. Here’s what you’ll need:
- Acetone: Ensure it’s 100% pure for the most effective removal.
- Cotton balls or pads: These will be saturated in acetone and applied directly to the nails.
- Aluminum foil: Used to secure the cotton balls in place.
- Nail file: To break the seal of the gel polish.
- Orange stick or cuticle pusher: For gently pushing the gel polish off the nail.
- Nail oil or moisturizer: To rehydrate the nails and cuticles post-removal.
The Removal Process
The process of removing gel nail polish is meticulous but straightforward. Following these steps can help protect your nails from damage:
- File the Nail Surface: Begin by gently filing the topcoat of your gel polish. This roughens up the shiny surface and breaks the seal, allowing the acetone to penetrate more effectively. Be cautious not to file too vigorously, as this could damage the natural nail beneath.
- Apply Acetone-soaked Cotton: Soak a cotton ball or pad in acetone and place it directly on the nail. Ensure the entire nail surface is covered. This step is crucial as acetone softens the gel, making it easier to remove.
- Wrap in Aluminum Foil: Tear a piece of aluminum foil and wrap it around your fingertip, securing the cotton ball in place. This helps maintain the acetone’s potency by preventing evaporation and provides warmth that aids in the removal process.
- Wait Patiently: Patience is key. Allow the acetone to work its magic for about 10-15 minutes. Resist the temptation to peek, as this could let air in and slow down the process.
- Gently Remove the Gel: After waiting, gently slide the aluminum foil and cotton off your nail. Most of the gel polish should come off easily. If there are stubborn spots, use an orange stick or cuticle pusher to gently scrape the remaining gel off. Do so with care to avoid damaging the nail bed.
- Hydrate and Nourish: Following the removal, your nails and cuticles might feel dry due to the acetone. Apply a generous amount of nail oil or a moisturizer to rehydrate and nourish your nails and cuticles. This step is vital for maintaining healthy nails.
Expert Tips for a Smoother Process
- Minimize Skin Exposure: Apply petroleum jelly around your nails before the removal process to minimize skin contact with acetone, which can be drying.
- Opt for Darker Towels: When working with acetone, use darker towels or ones you don’t mind staining, as acetone can bleach fabrics.
- Consider Soak-off Caps: If aluminum foil proves tricky, soak-off caps are a reusable alternative that can hold the cotton balls in place.
- Patience is Virtuous: Giving the acetone ample time to work will result in a cleaner removal and lessen the temptation to scrape aggressively, which can damage the nails.
Conclusion
Removing gel nail polish at home can be a straightforward and damage-free process with the right tools, techniques, and a bit of patience. By following the detailed steps and tips provided in this guide, you can ensure that your nails remain healthy and strong, even after enjoying the long-lasting beauty of gel polish. Remember, nail care doesn’t stop at polish removal; maintaining hydrated and well-nourished nails is crucial for their overall health and appearance.
Read Also: How to Clean a Cast Iron Skillet: A Comprehensive Guide

